Posted on 3 Comments

Electric Eel Wheel 6.0 Kickstarter Press Release

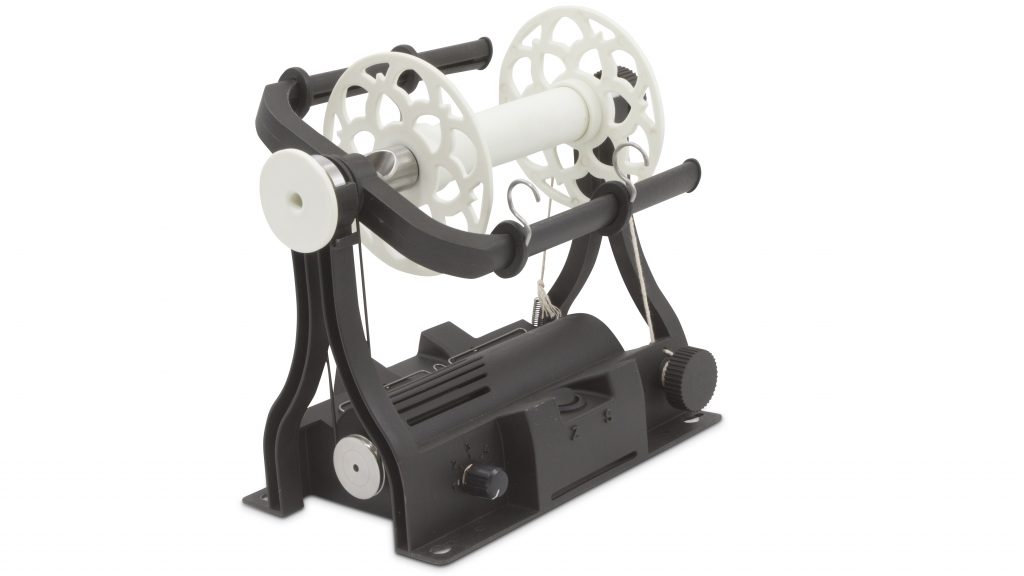
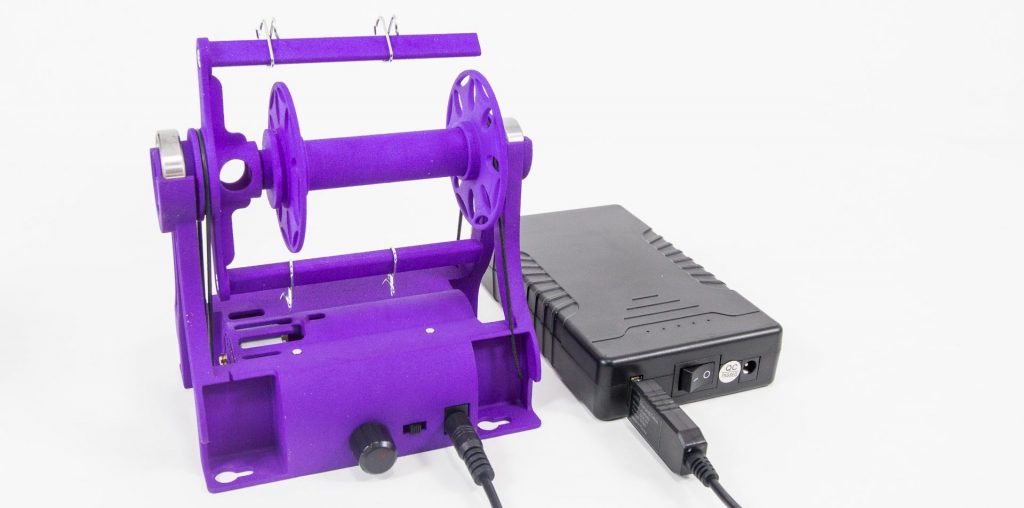
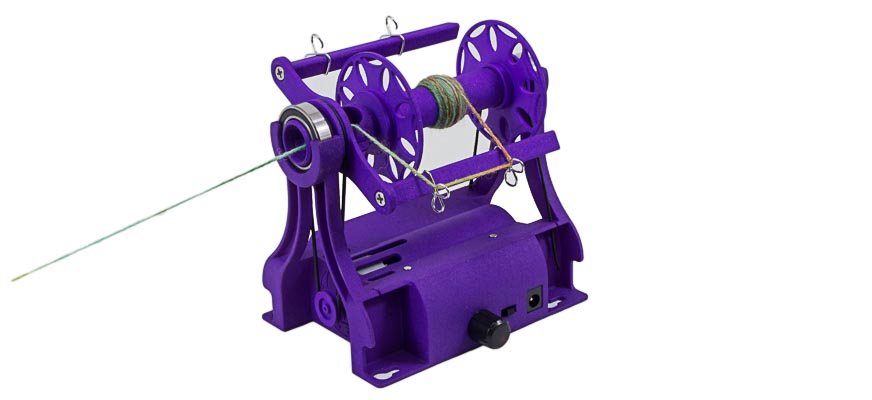
It is a beautiful new e-spinner that works great for both new and experienced spinners. If you haven’t spun yarn before, but you are interested in making your own yarn then this is an affordable e-spinner that makes it easy to learn spinning. If you are an experienced spinner then this is a fast, quite, and travel friendly e-spinner with large 8 ounce bobbins that will make you more productive.

Check out the Kickstarter for this project for more many more details on the improvements this new e-spinner it offers.

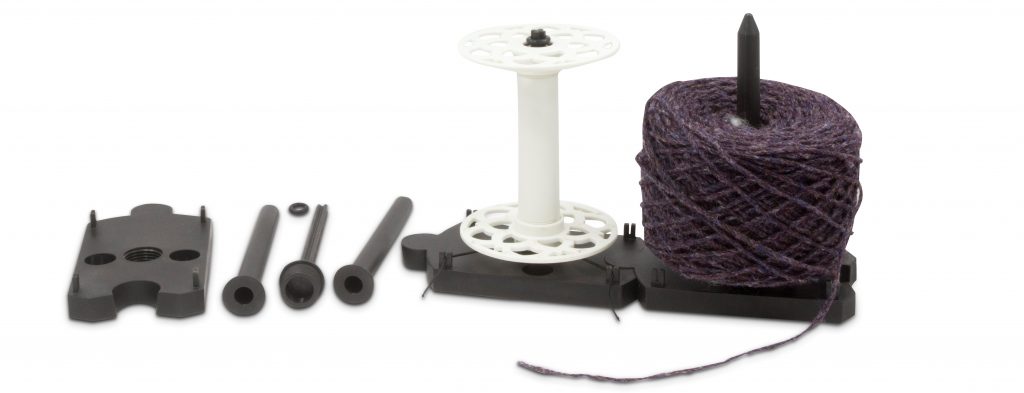
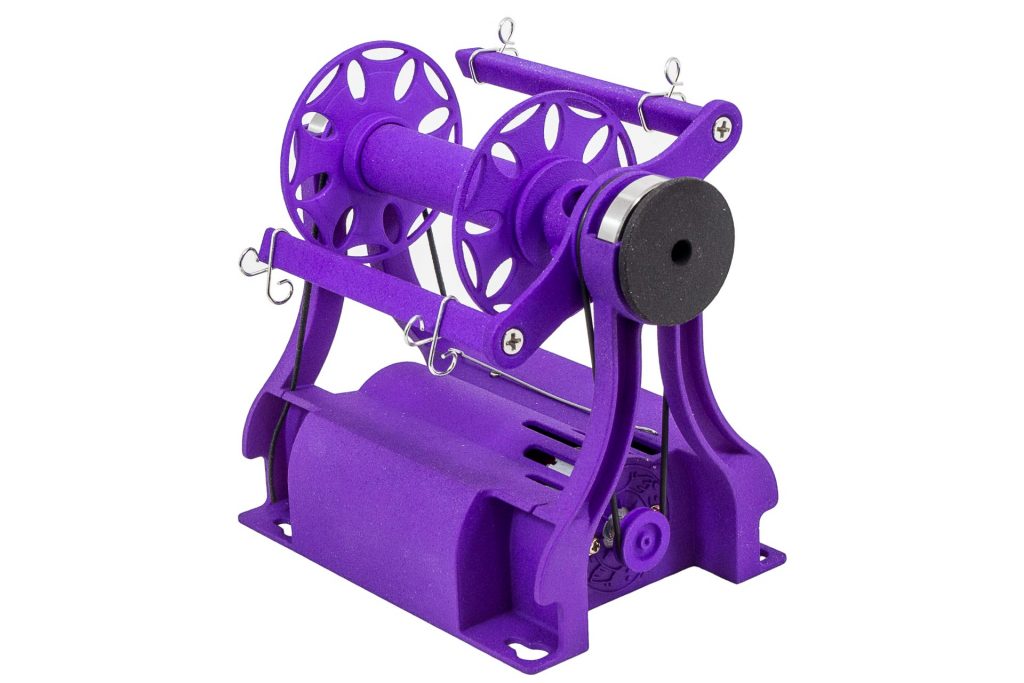
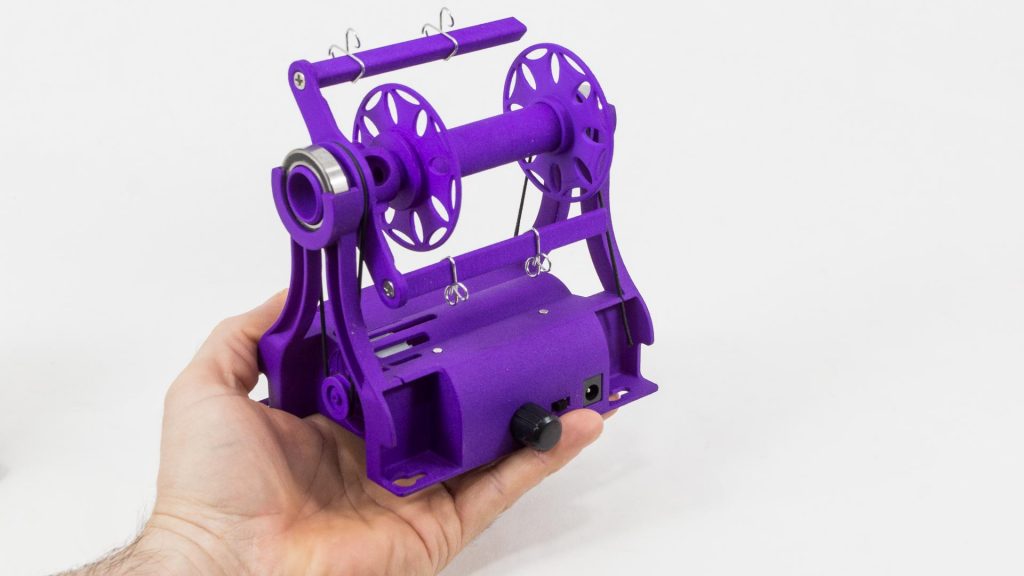
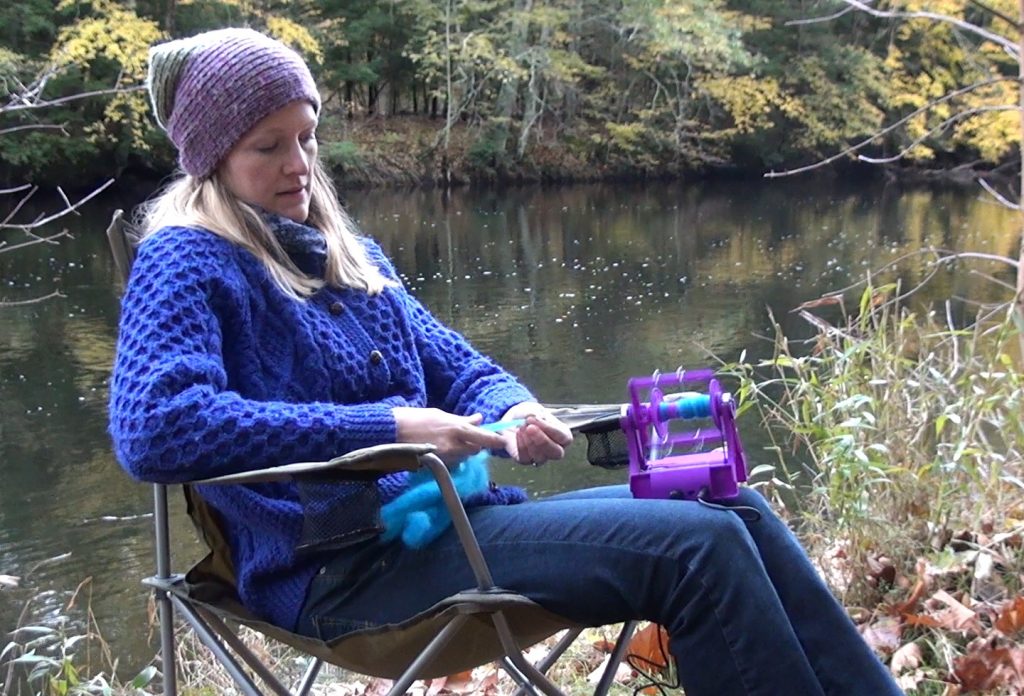
Below are some images you can use on blog or social media posts.

Posted on 24 Comments

Electric Eel Wheel Mini 2 Press Release

Dreaming Robots launched a new electric spinning wheel on Kickstarter.  There are lots of spinning wheels that spin wool into yarn, but this one is extraordinary in several ways.

First it has a beautiful design and solid feel.  This design not only looks great, but it’s open nature is helpful as it lets people see their yarn while they spin it.

Secondly it has been designed to help make spinning easier for new spinners.  The lower price and simple to use features makes it great for people learning to spin.

Lastly it is designed to be the ultimate travel spinning wheel.  It’s small, lightweight, and durable design when combine with it running off a USB port makes it great for spinning with friends anywhere.

In this age when people are trying to get more connected to nature spinning is a great hobby since it lets you make yarn from animal and plant fibers.  Then using a pair of knitting needles you can make that into some clothing.  This is called going from sheep to shawl.  The Electric Eel Wheel Mini is a great spinning wheel to help you do this.

For more information visit the Electric Eel Wheel Mini 2 Kickstarter.

Press, if you are looking for higher resolution images or additional content please contact us.


Posted on Leave a comment

How a Spinning Wheel Spins Yarn

Spinning is a fascinating process that has been around for thousands of years, but understanding the fundamentals can help make you a better spinner.

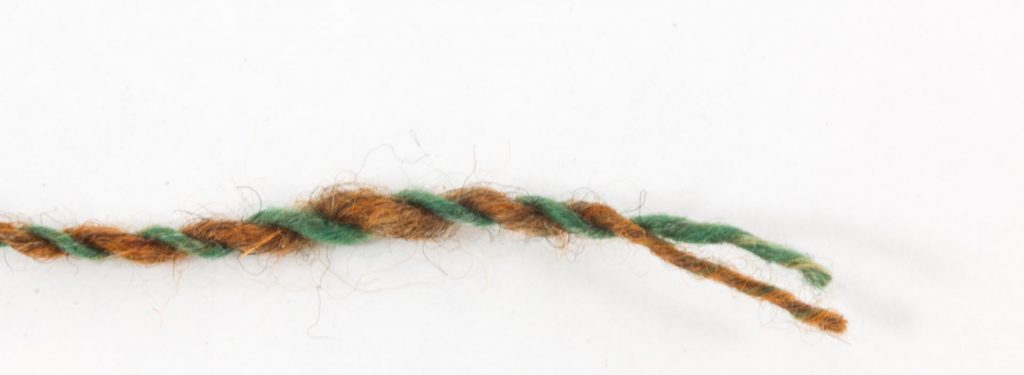
Yarn can be classified by how many strands are twisted together.  If you twist fiber so it forms a string you have single-ply yarn, or a single.  Multi-ply yarn is twisting 2 or more of those singles together.  For this article we will just be simply referring to “multi-ply yarn” as “yarn” since that is what most spinners do.

This is 2 ply Z-twist yarn.

A spinning wheel takes the animal or plant fibers and twists them together into a single.  In a separate step, the spinning wheel also plies two or more of those singles together into yarn by plying them in the opposite direction of the single.  So, if your spinning wheel is going clockwise while spinning the singles you should run it counter clockwise during plying.  If you don’t ply in the opposite direction of the singles, you’ll see that the plying over twists the singles and the singles don’t nicely wrap around each other.  Try plying in the wrong direction one time and you’ll quickly see how the yarn just won’t look or feel right.

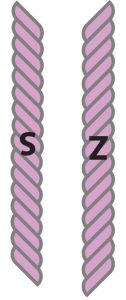
When plying yarn, you’ll either get Z-twist or S-twist yarn depending on the direction your flyer is spinning.  In the image to the right you can see how Z-twist goes up and to the right, but S-twist goes up and to the left.  Your twist depends on the type of the spinning wheel you have, so generally the easiest way to figure this out is to spin some fiber and look at it.

The difference between S-twist and Z-twist yarn.

Now that we have covered the basics of the different types of twisting that make yarn, let’s discuss how the spinning wheel puts the twist into yarn by focusing on singles.  At the most basic level, a spinning wheel consists of the flyer and the bobbin.  There are three main types of spinning wheels that drive the bobbin and flyer in different ways.  Scotch Tension has the drive belt on the flyer, and a tension band on the bobbin makes the bobbin spin slower than the flyer which adds twist.  Irish Tension has the drive belt on the bobbin, and a tension band on the flyer makes the flyer spin slower than the bobbin which adds twist.  Lastly the Double Drive has a drive belt on both the flyer and the bobbin, and different gear ratios cause the flyer and belt to spin at different speeds.

Sometimes the tension band is called a brake band.  This is because it acts like a brake and slows either the flyer or bobbin down.

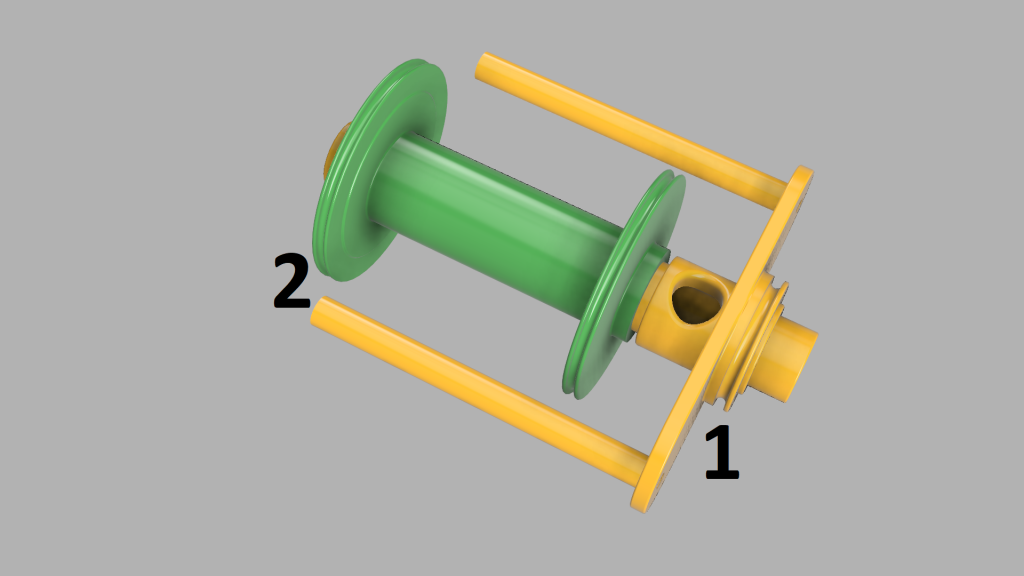
This shows a flyer in yellow and a bobbin in green. #1 is where the drive belt or brake band is attached to the flyer and #2 is where the drive belt or tension band is attached to the bobbin.

  • Scotch Tension – #1 is a drive belt, and #2 is a tension band
  • Irish Tension – #1 is a tension band, and #2 is a drive belt
  • Double Drive – #1 is a drive belt, and #2 is a drive belt

With all these different types of spinning wheels the important part to remember is the flyer and bobbin are spinning at different rates.  Making singles depends on one spinning faster than the other.  The spinning wheel is both twisting the fiber and wrapping it around the bobbin.  To see how that’s happening let’s think about what happens in some extreme cases on a Scotch Tension spinning wheel.

With Scotch Tension what happens if the flyer is turning and the bobbin is not because you have a high tension setting?  If the bobbin is not turning, the fiber goes onto the bobbin with no twist.  So, the single would fall apart because there would be no twists to hold it together.  In the other extreme, what happens if the flyer and bobbin are turning at the same speed?  Twist is being applied to the fiber, but no fiber is pulled onto the bobbin.  The fiber will keep twisting until it breaks.  This is obviously too much twist in the yarn.

For Irish Tension it’s a little different.  So in one extreme when the flyer is stopped and the bobbin is spinning there is no twist.  In the other extreme where both flyer and bobbin are spinning at the same speed there is too much twist (this case is the same as Scotch Tension).

So, what makes good yarn is the difference in the speed of rotation of the flyer and the bobbin.  A smaller difference in rotational speeds between the flyer and bobbin will result in yarn being pulled onto the bobbin more slowly and thus a higher twist per inch.  Remember, the smaller the difference in rotational speed between the flyer and bobbin the more twist there will be.

When spinning you must consider one more factor, which is uptake.  Uptake is the amount of pull on the fiber.  If you feel a lot of uptake, then there is too much tension on the bobbin.  On the other hand, if there is no uptake, then the rotation of the bobbin is zero and your single will get too much twist.  If you let the uptake pull the fiber into the wheel too quickly then your single will not have much twist.  The point here is while the tension band is what creates uptake, the final decision on how much yarn actually goes on the bobbin is your fingers, which is holding the fiber.  So, even if there is a lot of uptake if your fingers aren’t letting fiber onto the bobbin then the bobbin will spin at the same rate as the flyer, and you will have over twisted yarn.  With practice a spinner gets the feel for all this and will let the spinning wheel pull in fibers at a ratio that will give their singles the amount of twist the spinner wants.

There you have it.  If you have any questions let me know either in the comments or with our contact-us page.

Posted on Leave a comment

Guide to Spinning Fiber into Yarn

Spinning is about taking animal fibers such as wool and twisting it into yarn.  It’s a great hobby that helps you appreciate making something.  Something as simple as a pencil would be nearly impossible for a single person to make, but you can take a sheep fleece spin that into yarn, and then knit that into mittens or a sweater.  Spinning is a very fulfilling hobby.

Learning how to spin different animal and plant fibers into yarn is easy.  It generally takes only a few minutes to gets started, but you can spend a lifetime perfecting some of the more advanced techniques.  This guide will focus on teaching people how to get started.

There are three major ways people learn to spin today.  Electric spinning wheels, treadle spinning wheels, and drop spindles.  Drop spindles won’t be covered by this guide, but there are many other guides out there if you want to look into it.

Many people will learn on a treadle wheel, but electric spinning wheels are becoming more popular now that affordable options like the Electric Eel Wheel exist.  Learning on an electric spinning wheel is easier because you don’t need to coordinate your feet and hands since a little motor handles spinning the wheel for you.  Otherwise learning to spin on electric or treadle wheels is very similar and this guide should work for both of those.

The basic steps to get started spinning are to attach a lead yarn to your bobbin and guiding it through your spinning wheel.  Then you start spinning your wheel to add twist to your fiber (or rovings), and let it feed onto your bobbin.  Then you must constantly monitor the yarn going onto the bobbin to make sure it has the right amount of twist.  Below is a short video that shows these steps in more detail.

After spinning that you have what is called “singles”.  This means your yarn is a single strand.  Many people will then ply the yarn together.  There are different ply techniques, but the simplest is to just reverse the direction of your wheel and spin two bobbins of singles yarn onto a third bobbin.  The reason you must reverse the direction of your wheel is so that you don’t untwist the yarn when plying it together.  Here is a video that explains plying in more detail.

Hopefully that was helpful in learning the basics of spinnings.  If you want more info here are some links:

Go to Electric Eel Wheel Store